Contact Center
Connection
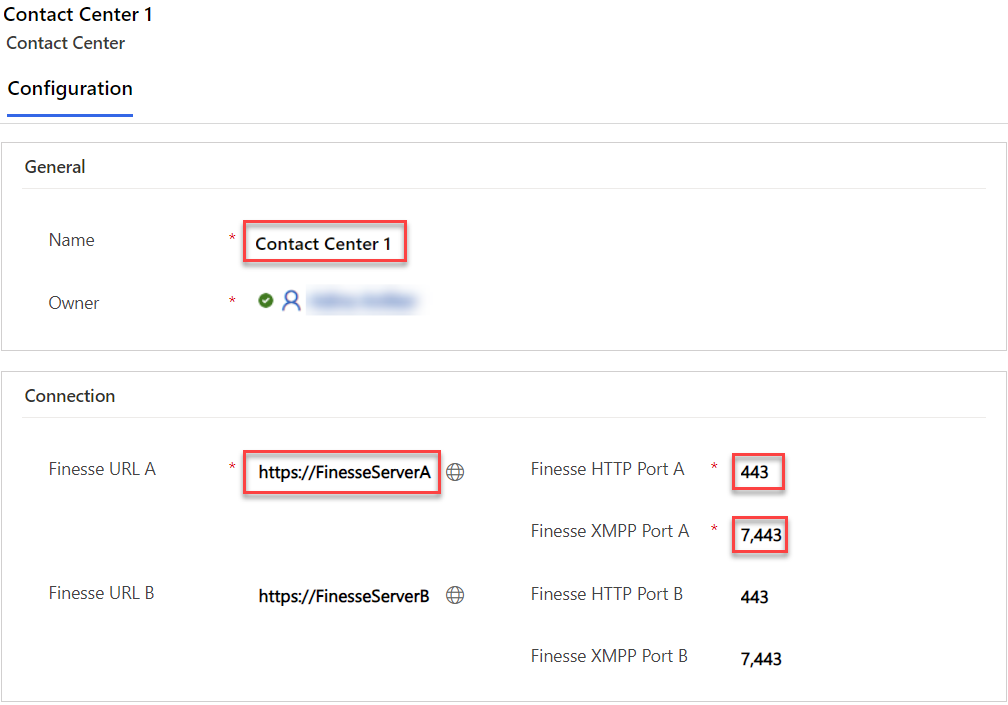
The Connection section comes with several options to fine-tune the Finesse Server connection.
All these options are shipped with an out-of-the-box default value. To start out, it is necessary only to provide the Server URLs and HTTP/XMPP ports.
With Finesse 12.6 (CCE) / 12.5 SU1 (CCX) the usage of XMPP Port 7443 is deprecated and the port 8445 should be used instead.
For VPN-Less Finesse use the Proxy URL
Step 1: Provide a Name. This name will be displayed in any related record.
Step 2: Provide the Finesse URL A, Finesse HTTP Port A, Finesse XMPP Port A, Finesse URL B, Finesse HTTP Port B and Finesse XMPP Port B.
These fields define to which endpoints the connection will be established.

Connection Settings
In some instances the default configuration is not adequate. In such cases, the following settings should be adjusted:

| Setting | Description |
|---|---|
Connection timeout (seconds) | The maximum number of seconds permitted for a connection attempt to one Finesse server. |
Poll interval on connection loss (seconds) | If the connection to Finesse is lost, this setting defines the interval (in seconds) before attempting to re-establish the connection. This procedure repeats until one of the servers (in redundant deployments) can be successfully connected. |
Max connection attempts before failover (amount) | Defines the maximum number of connection attempts with the Finesse server before trying to connect to the secondary Finesse Server. |
BOSH push timeout (seconds) | Defines the number of seconds to wait for an XMPP Notification Event from Finesse. After the configured number of seconds, the XHR request is canceled and a new one is initiated. Range: 60 - 120Default: 60 |
BOSH max retries (amount) | Networks may drop and connections may be temporarily unavailable. This setting defines the number of ongoing failed BOSH XHR requests before the application considers the connection to have failed. |
SSO
Please refer to the guide Single Sign-On.
Assigned Users
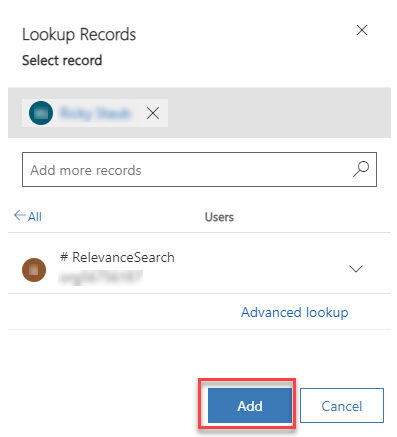
The assigned users list allows Admins to see who is using this Contact Center. They can also add existing users here.

Select one or more users and click "Add".

Remove Users
To remove users, you need to select them, click on the three dots, then on "Flow".

Select "Remove Users from Contact Center".

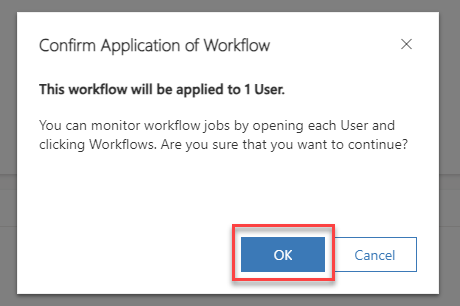
Then accept the popup to remove the selected users.
