Updates
SQL MI and Datamart
Updates on the infrastructure, shared instances and release updates for the datamart will be deployed during the defined maintenance windows depending on the instance location (refer to CCBIaaS service description). The following lead times are used for changes and announced to the responsible contact person or organisation:
*1 week for changes without impact for the solution but with impact for the data refresh
*3 weeks for changes with impact for the service
*= Emergency procedures are reserved
Power BI Datasets (Semantic Model) and Reports
New CCBI releases will be announced by b+s to existing customers on a regular basis. The latest datasets and reports will be provided for downloading and can be updated by the Power BI administrator, as it was done during the onboarding session.
We recommend that upgrades are only ever carried out during a maintenance window!
Download and publish CCBI Datasets
Get ready with Power BI Desktop
Download and install the newest version of Power BI Desktop (https://powerbi.microsoft.com/en-us/desktop/).
Start Power BI Desktop and log on with the personal account of the Power BI administrator.
Download and unzip the dataset files from the provided b+s storage.
Go to "Open report" in Power BI Desktop and select the file "CCBI_Wx_v1-6-x_Monitoring.pbix"
The empty dataset report opens.
Publish Dataset
To upgrade a dataset, rename the existing dataset in the workspace to the same name of the incoming dataset before publishing.
The existing dataset is replaced with an empty dataset during an upgrade and only contains data again after the first refresh has been successfully completed. The duration of the last refreshes can be found in the refresh history of the dataset.
Select "Publish" to upload the file to a "Golden workspace" for CCBI Webex.
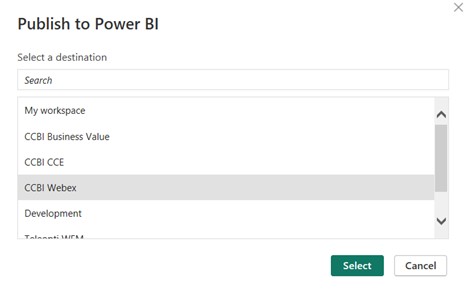
Select the workspace from the list and press "Select".
Confirm to replace the dataset if you upgrade an existing dataset.
If no golden workspace for CCBI Webex exists, create a new workspace in the Power BI web application.
The upload will start and finish with the following message box:
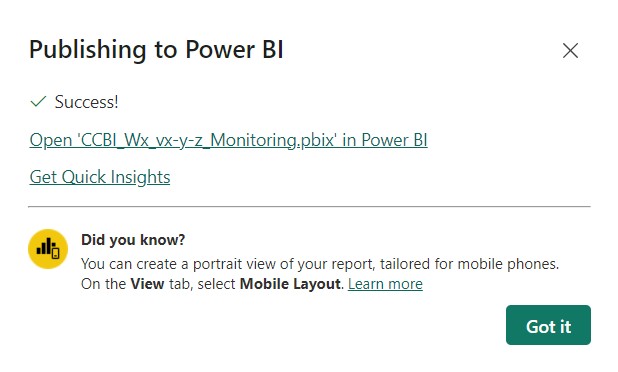
Press "Got it" to close the message box, then close Power BI Desktop.
Repeat this process with all other dataset files that were provided:
- CCBI_WxC_v1-6-x_Dataset.pbix
- CCBI_WxCC_v1-6-x_Dataset.pbix
- CCBI_WxCC_v1-6-x_Dataset_Intraday.pbix
- CCBI_WxCC_v1-6-0_EA_RealTime.pbix
You will only need to upload datasets and reports for integrations with an active CCBI subscription ("WxC" for Calling / "WxCC" for Contact Center)
Access the Workspace and change the connection string and the data source credentials
Open a browser and access the Power BI Service (https://app.powerbi.com/). Login with the Power BI User that uploaded the solution into the customer's workspace.
Select the golden workspace and switch to the "Linage" view.
Select the "Settings" from the CCBI_Wx_v1-6-x_Monitoring Dataset (Semantic model) under the three dots on the top right-hand corner:

Open the "Parameters":
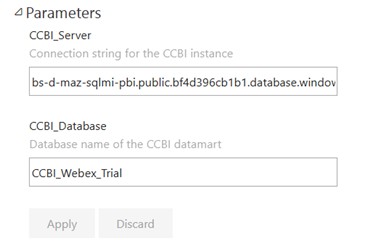
Replace the connection string for the CCBI_Server and the name of the CCBI_Database with the details of the file "<customer name> CCBI connection string.txt" that was also provided in the b+s storage.
Click on "Apply"
Open the "Data source credentials" where you will see the following error message:

Click on "Edit credentials" and choose "OAuth2" for the Authentication method:
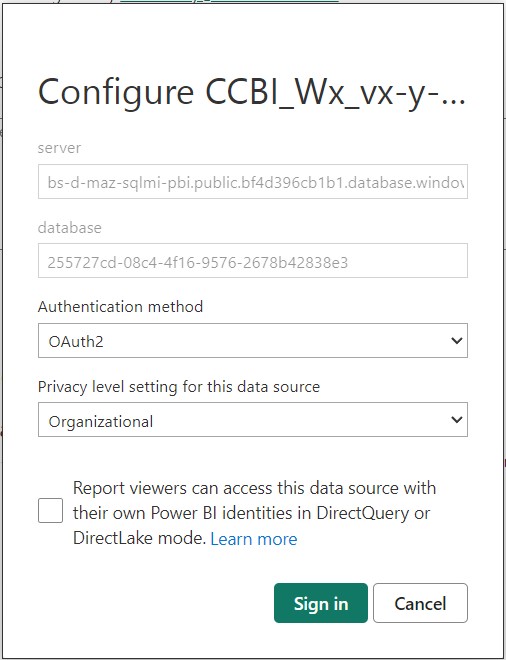
Press the "Sign in" button and login with the guest account that was created in the b+s tenant and for which you have setup multi factor authentication (MFA).
The error message should now disappear:
![]()
Return to the linage view of the workspace and press the refresh button to verify, if the connection and credentials are correct and data is loaded into the Power BI service:

Repeat the same process of changing the settings for all other Datasets (Semantic models):
- CCBI_WxC_v1-6-x_Dataset
- CCBI_WxCC_v1-6-x_Dataset
- CCBI_WxCC_v1-6-x_Dataset_Intraday
- CCBI_WxCC_v1-6-0_EA_RealTime.pbix
and refresh the data manually to load data into the empty datasets.
Download and publish CCBI Reports
Download the reports
Start Power BI Desktop and log on with the personal account of the Power BI administrator.
Download and unzip the report files from the provided b+s Synology storage.
Go to "Open report" and select the File "CCBI_WxC_v1-6-x_DataAnalyst.pbix".
Change Dataset connection
The original Report Template uses the dataset of a workspace where you don't have access. Due to this, the following message pops up when you open one of these reports:
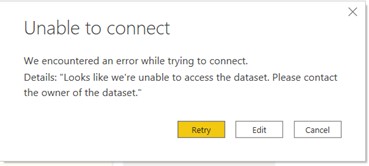
Select "Edit".
Select the CCBI_WxC_v1-6-x_Dataset that you published into the golden workspace and click on "Connect".
The Report refreshes with the data from the connected dataset.
Publish Report
Save the file and publish it to the same dedicated workspace as the dataset.
Select "Got it" to close the message box and close Power BI Desktop.
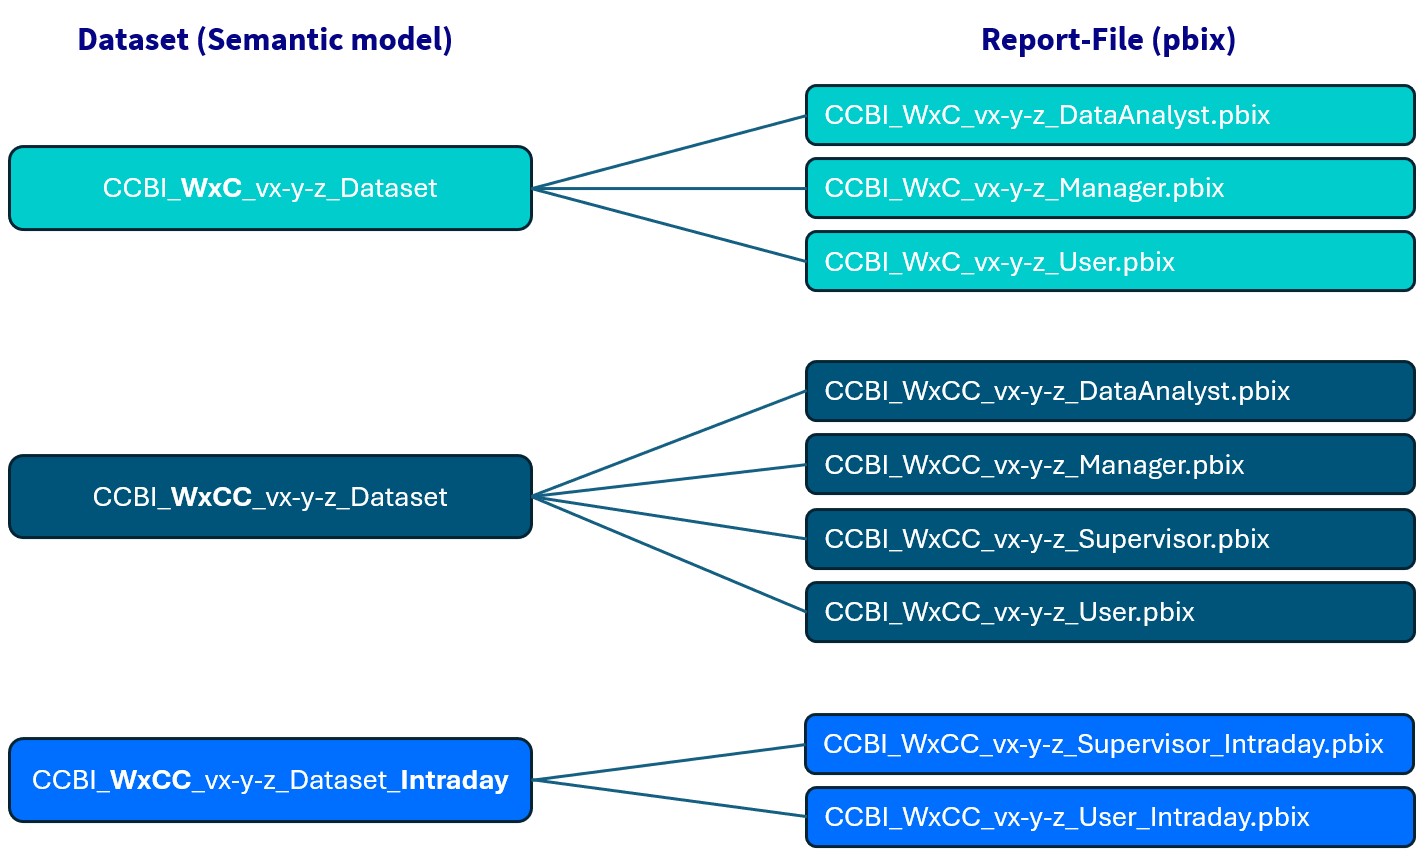
Repeat this process for all other CCBI Reports but make sure to connect the reports with the correct Dataset. Use this table to do it the right way:
Verify the customer workspace
Delete the dataset reports
Open the golden workspace and switch to the "Linage" view.
Delete the reports "CCBI_WxC_v1-6-x_Dataset", "CCBI_WxCC_v1-6-x_Dataset" and "CCBI_WxCC_v1-6-x_Dataset_Intraday" because they are only used to create the semantic model.
Having all CCBI subscriptions, the golden workspace should now look similar to this:
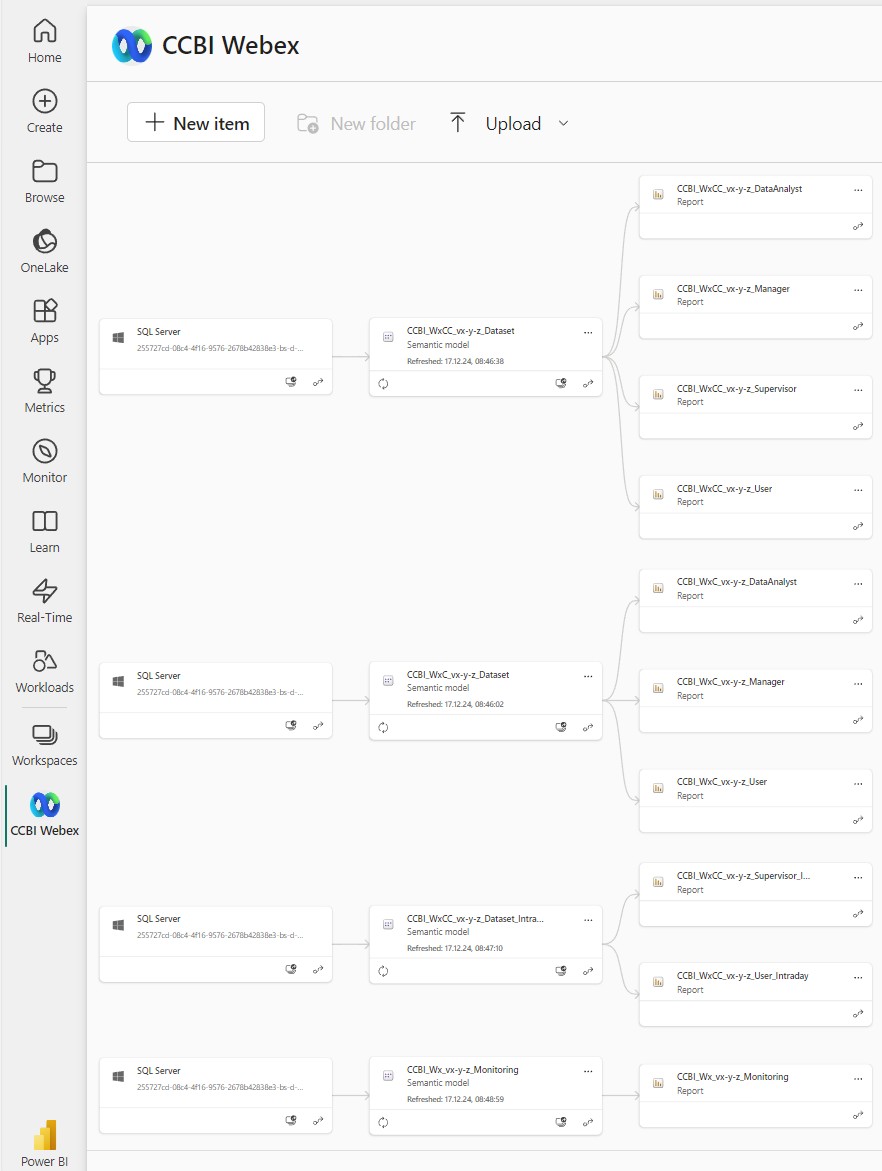
You see from left to right the:
- SQL Server hosting the database as your data source.
- Dataset (Semantic model), holding the data and the model
- Light reports for different roles, containing the visuals
Real Time dataset and report requires Premium workspace
Page refresh for Real Time reports is only working in premium workspaces for users with a premium license. Real Time reports in a pro workspace only refresh when you open a report or when you refresh manually.
To support page refresh, you must upload the real time report with a premium user to a premium workspace as well.
Verify the CCBI Reports
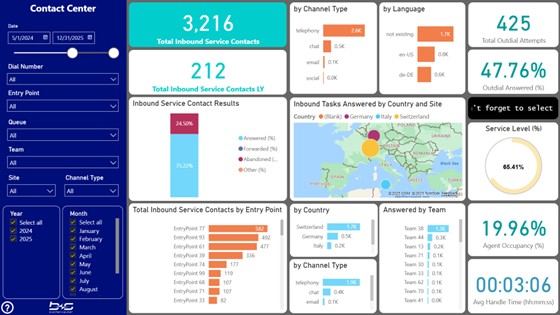
Open the reports from the workspace and verify that the visuals are displayed without any errors.
Configure/review data refresh for all datasets
Select the "Settings" from the CCBI_Wx_v1-6-x_Monitoring dataset (Semantic model) under the 3 dots on the top right and go to the Refresh settings:
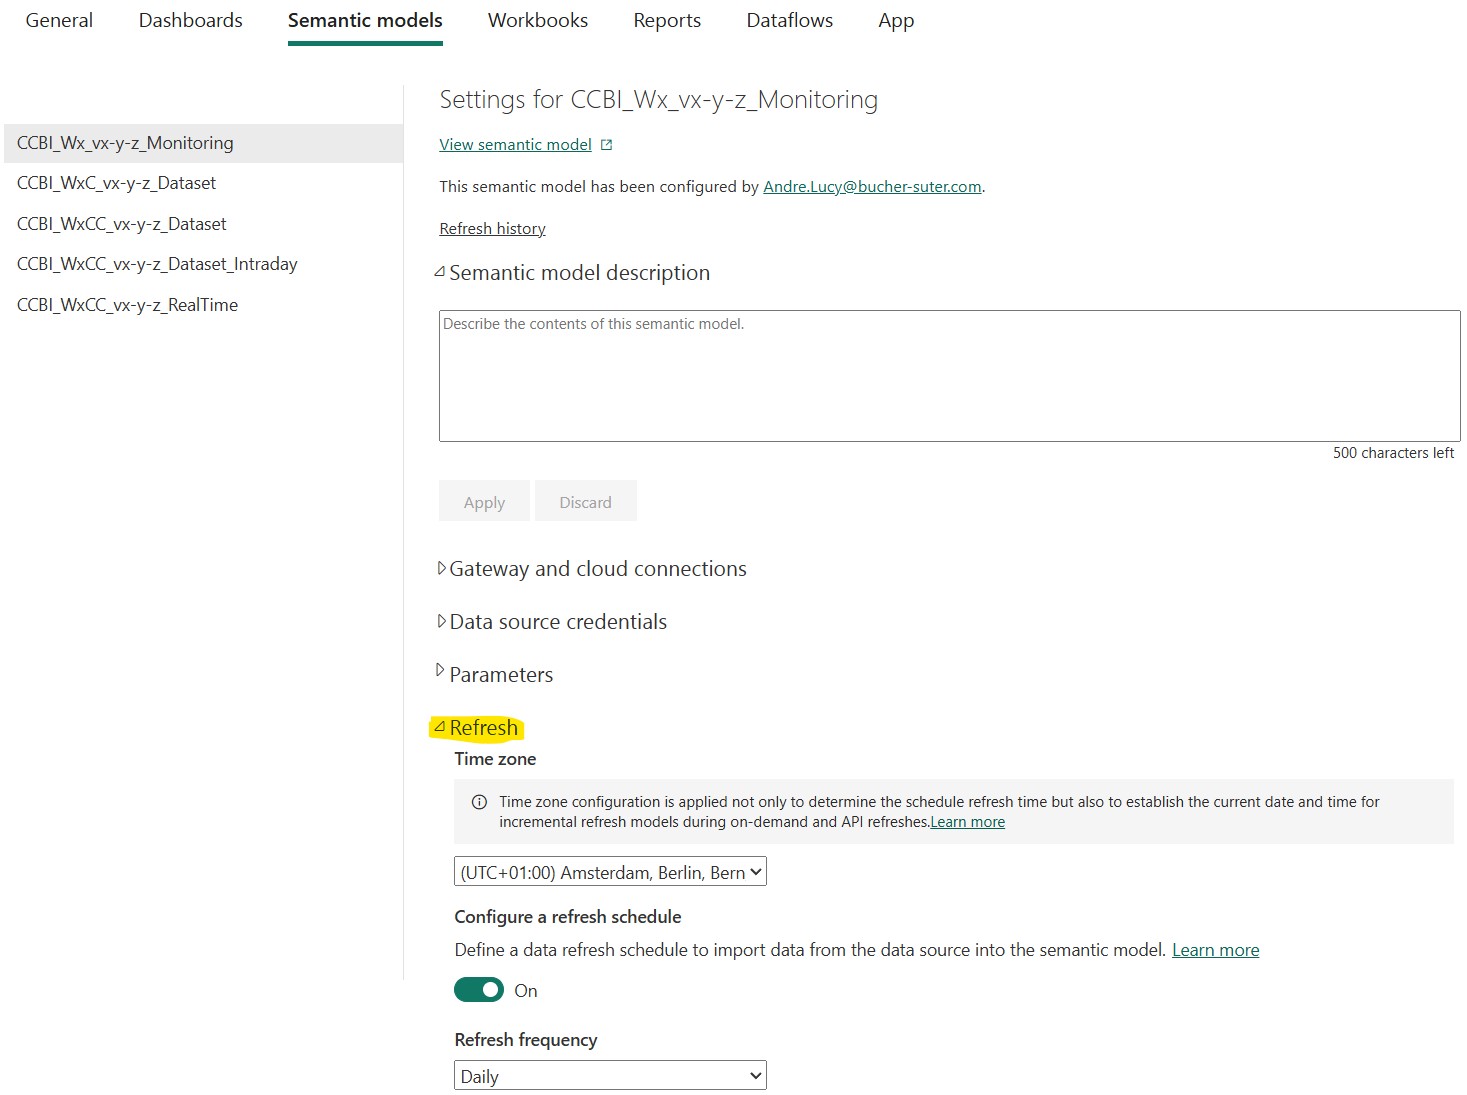
Turn the Scheduled refresh "ON" and select the Time zone used for your daily schedule.
Select "Add another time" to create a line for every execution during the day. Keep in mind that Power BI pro licenses only allow eight refreshes per day.
If everything is setup correctly, click "Apply". Review the next time of the refresh on top of the Dataset settings page.
Repeat the same configuration for all other WxC- and WxCC Datasets.
Dimensions for the Intraday- and RealTime-Dataset are also refreshed based on a schedule.
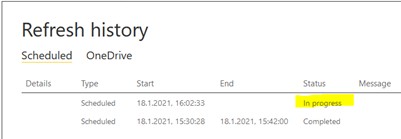
Select the link "Refresh history" in the upper part of the settings page to verify the execution process of all manual and scheduled refreshes:
Copy the Reports to the user workspaces
If you have copied the reports to user workspaces during the "Security and Permissions" onboarding session, you should repeat this to offer the newest templates for the users. This will not replace the existing reports but provide the new reports.
Be aware that you can only download and modify pbix files if they are located in the same workspace as the dataset and have never been moved to any other workspace.
From a security perspective, no change is required because the settings are configured in the dataset inside the golden workspace which was replaced without any configuration change.