Bulk Agents
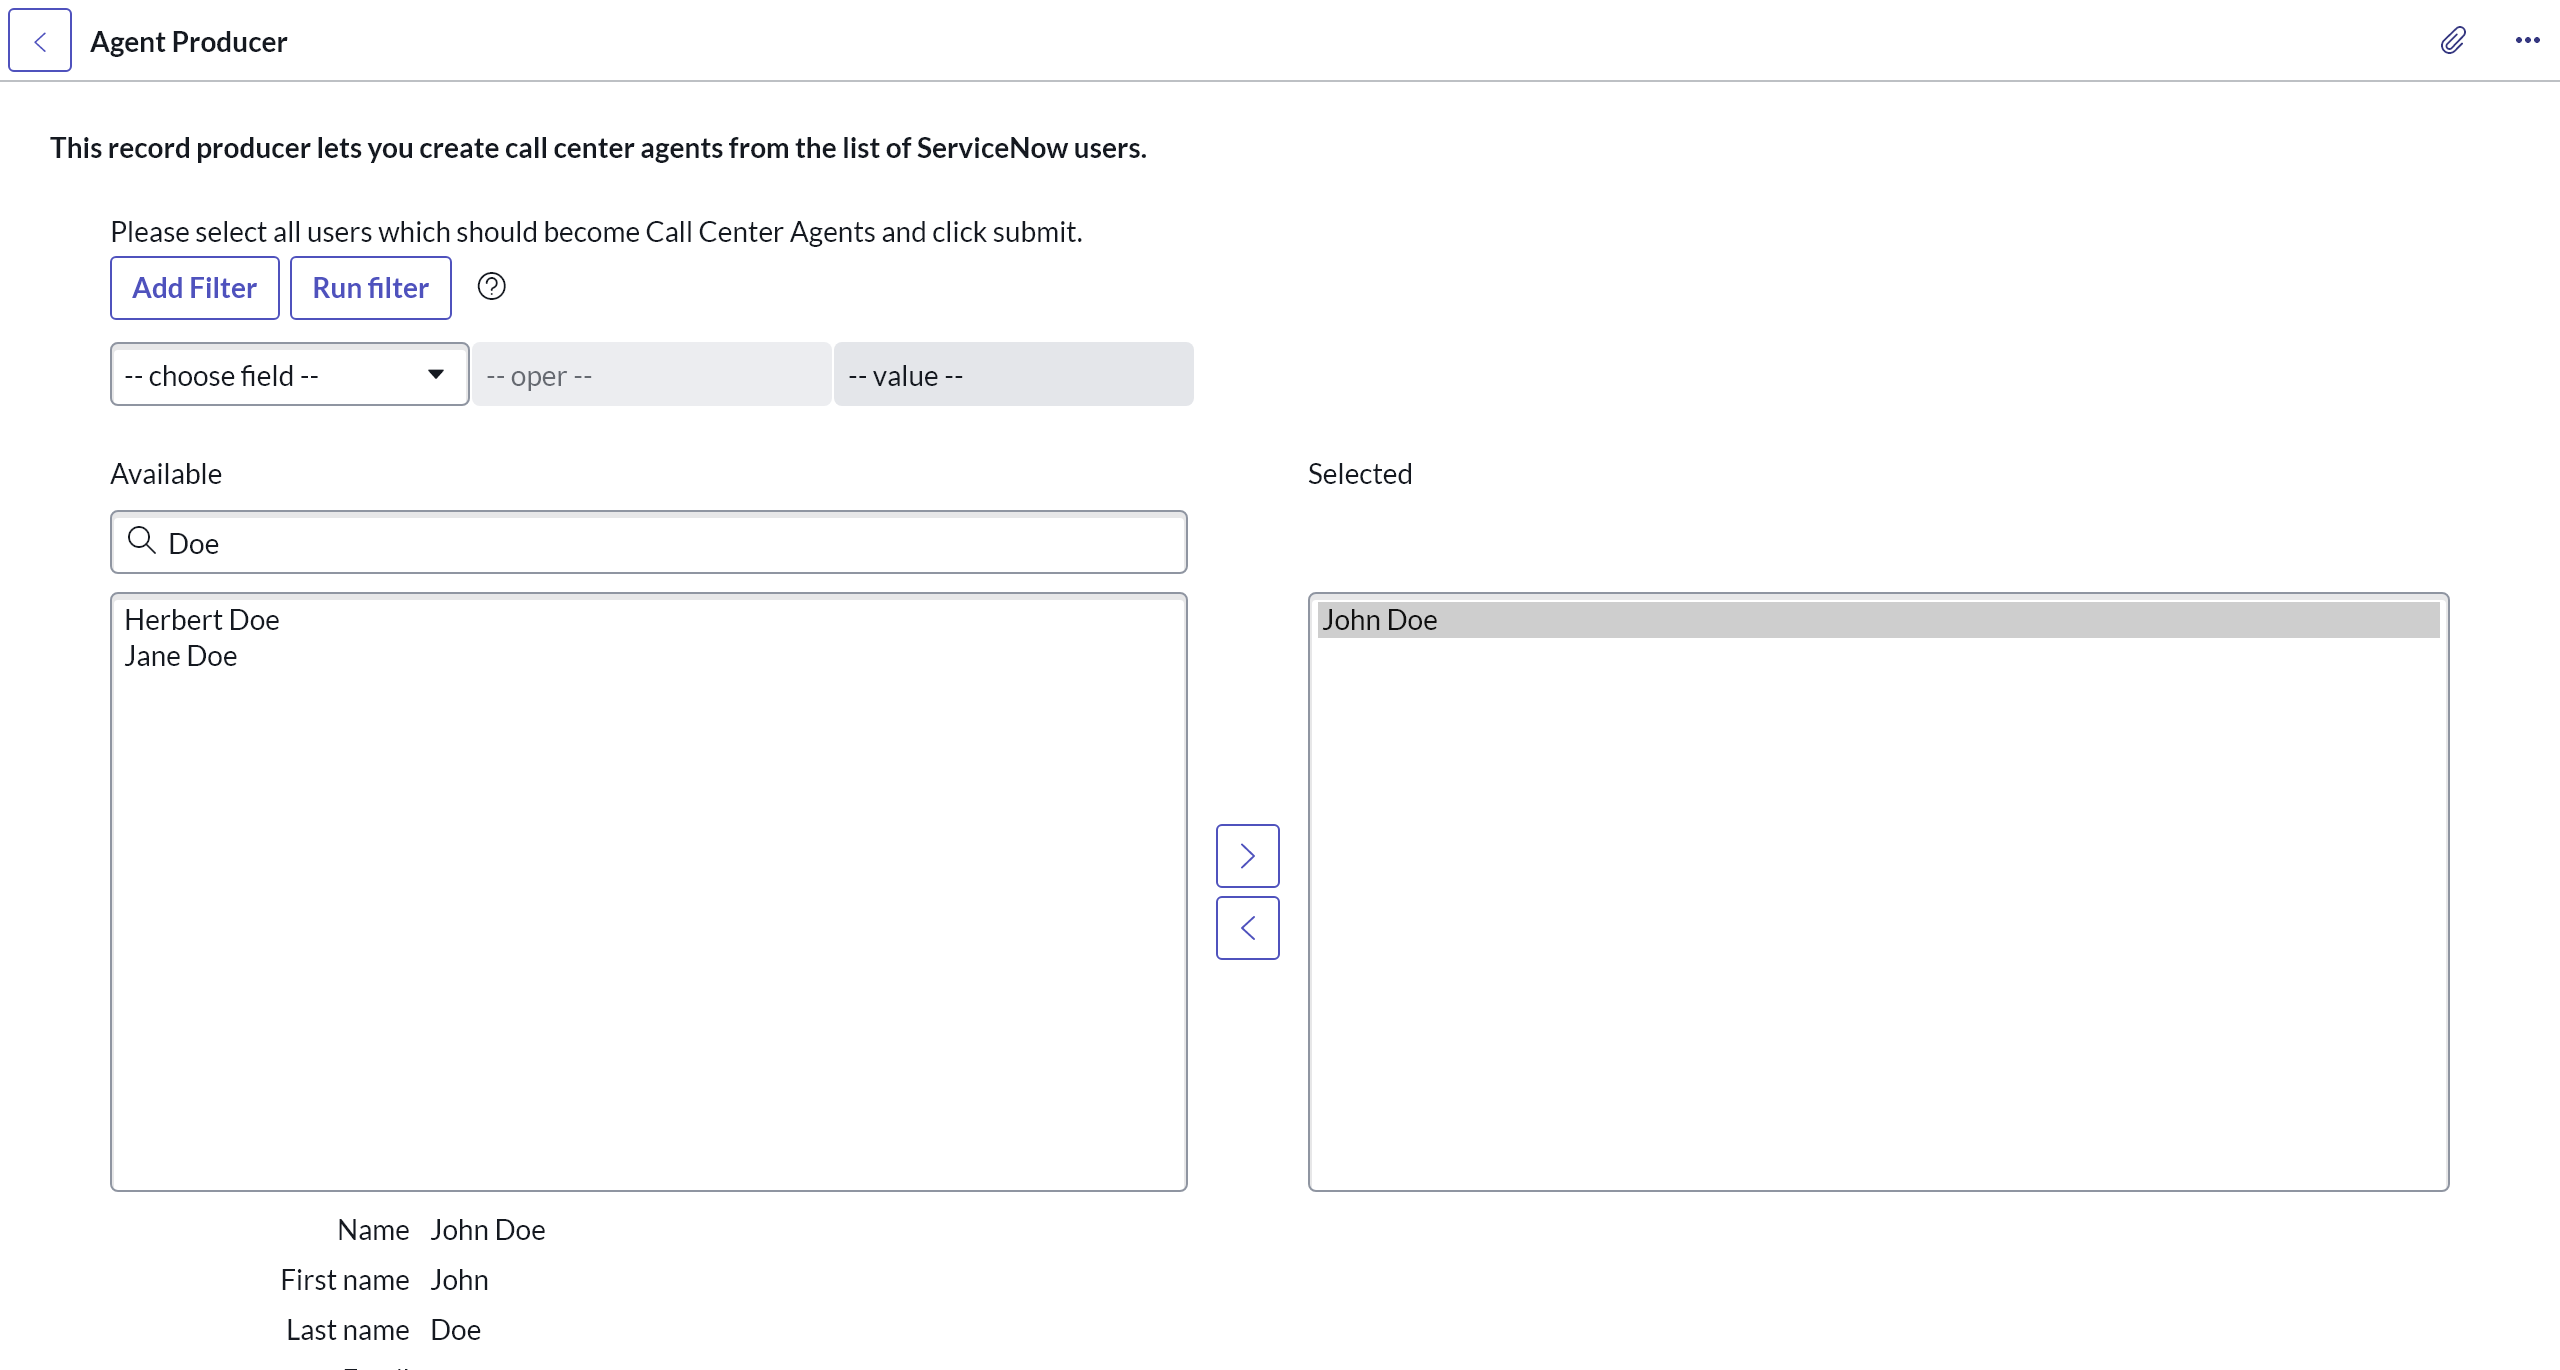
With Agent Producer, agent profiles can be created in bulk, in seconds. This is particularly helpful for new installations which may require creating hundreds of agents.
ServiceNow role required: admin, user_admin, x_busag_cnx.CC Administrator, x_busag_cnx.CC Agent Admin or x_busag_cnx.CC Supervisor
Elevated permissions are required if the users selected here should be assigned the role x_busag_cnx.CC Agent automatically. This is not needed if the users get the role via other methods (e.g. a user group). Refer to decide how to work with agent permissions for more information.

Step by step instructions:
Login to ServiceNow Service Management as an administrator.
Go to "Agent Producer" by searching in the left panel.
Optional: Use the filter to find relevant users.
Select all ServiceNow users that you wish to convert to agents and move them to the "Selected" list.
Click "Submit" to save the configuration.
Note that every ServiceNow user converted to a Contact Center Agent gets the x_busag_cnx.CC Agent role automatically.
Nevertheless, ServiceNow also offers multiple ways to assign roles to multiple users. For example:
- Roles can be assigned to existing user groups so that users inherit the roles from the group
- If LDAP is set up, group membership can be controlled via Active Directory
Deleting Agents
To delete agents, click on the checkbox in front of all the agents to be deleted in the "Agent List". Then select "Delete" from the dropdown list at the top or bottom of the page.
If the x_busag_cnx.CC Agent role is assigned to ServiceNow users automatically via the Business Rules provided by b+s Connects for ServiceNow, removal of roles must be allowed. Refer to decide how to work with agent permissions for more information. The following step by step instructions show how to allow this.
Step by step instructions:
Login to ServiceNow Service Management as an administrator.
Go to "Tables" by searching in the left panel.
Open the table "sys_user_has_role".
Under the tab "Application Access", activate the checkbox "Can delete".
Click update.
Feedback on how to further streamline the configuration process is welcome.